How to Create a Ubuntu Packer Image and Deploy on a Bare Metal Server

In this blog post, we will discuss how you can create a minimalistic raw Ubuntu image using Packer and then deploy it on a bare-metal server using the provisioning engine, Tinkerbell. Let’s get started!
What is Packer?
Packer by HashiCorp is an awesome tool to create pre-configured machine images which can be directly used to create an instance. This should not be seen as a replacement for other configuration tools like Ansible, Chef etc. Instead, you can use the same tools to pre-configure your image, and with Packer, you can automate the management of your machine images like pushing to an image repository or ensuring your CI pipelines have updated image. Packer also helps you to create parallel builds, i.e you can create multiple images for different platforms using a single template. This enables you to ensure changes in your applications can be tested on multiple platforms simultaneously. It can also be seen as a factor to reduce the parity between developer and production builds.
How to create a Ubuntu Packer machine image?
A Packer template can be defined using a set of constructs and each of these constructs has a separate role in creating a machine image. Currently, Packer does not officially provide a way to make bare metal machine images. So, in this example, we will use virtualbox-iso builder to create a Virtual Machine Disk (VDMK) and then convert it to a raw image. This raw image can then used to deploy an OS on a bare metal server. For our use case, we will manage the deployment using Tinkerbell.
Preseed and config files for Ubuntu 20.04
When building an image using virtualbox-iso, the preseed file will help with automating the deployment. While the config file will have the configuration under constructs on how to build the machine image. You may notice that the config references the location of the preseed file in the boot_command list of the builders object.
The files will need to be placed in the directory structure of the Packer image builder.
ubuntu_packer_image
├── http
│   └── preseed.cfg
└── config.json
Below are the preseed file and the config file for creating a minimalistic Ubuntu 20.04 image.
pressed.cfg
choose-mirror-bin mirror/http/proxy string
d-i base-installer/kernel/override-image string linux-server
d-i clock-setup/utc boolean true
d-i clock-setup/utc-auto boolean true
d-i finish-install/reboot_in_progress note
d-i grub-installer/only_debian boolean true
d-i grub-installer/with_other_os boolean true
d-i partman-auto/disk string /dev/sda
d-i partman-auto-lvm/guided_size string max
d-i partman-auto/choose_recipe select atomic
d-i partman-auto/method string lvm
d-i partman-lvm/confirm boolean true
d-i partman-lvm/confirm boolean true
d-i partman-lvm/confirm_nooverwrite boolean true
d-i partman-lvm/device_remove_lvm boolean true
d-i partman/choose_partition select finish
d-i partman/confirm boolean true
d-i partman/confirm_nooverwrite boolean true
d-i partman/confirm_write_new_label boolean true
d-i pkgsel/include string openssh-server cryptsetup build-essential libssl-dev libreadline-dev zlib1g-dev linux-source dkms nfs-common docker-compose
d-i pkgsel/install-language-support boolean false
d-i pkgsel/update-policy select none
d-i pkgsel/upgrade select full-upgrade
d-i time/zone string UTC
tasksel tasksel/first multiselect standard, ubuntu-server

d-i console-setup/ask_detect boolean false
d-i keyboard-configuration/layoutcode string us
d-i keyboard-configuration/modelcode string pc105
d-i debian-installer/locale string en_US.UTF-8

# Create vagrant user account.
d-i passwd/user-fullname string vagrant
d-i passwd/username string vagrant
d-i passwd/user-password password vagrant
d-i passwd/user-password-again password vagrant
d-i user-setup/allow-password-weak boolean true
d-i user-setup/encrypt-home boolean false
d-i passwd/user-default-groups vagrant sudo
d-i passwd/user-uid string 900
In the config file, the builder type is set to virtualbox-iso to generate the VMDK and the post-processor type is set to compress to generate a tar file.
config.json
{
  "builders": [
    {
      "boot_command": [
        "<esc><wait>",
        "<esc><wait>",
        "<enter><wait>",
        "/install/vmlinuz<wait>",
        " initrd=/install/initrd.gz",
        " auto-install/enable=true",
        " debconf/priority=critical",
        " netcfg/get_domain=vm<wait>",
        " netcfg/get_hostname=vagrant<wait>",
        " grub-installer/bootdev=/dev/sda<wait>",
        " preseed/url=http://{{ .HTTPIP }}:{{ .HTTPPort }}/preseed.cfg<wait>",
        " -- <wait>",
        "<enter><wait>"
      ],
      "boot_wait": "10s",
      "guest_os_type": "ubuntu-64",
      "guest_additions_mode": "disable",
      "disk_size": 8192,
      "http_directory": "http",
      "iso_urls": [
        "ubuntu-18.04.5-server-amd64.iso",
        "http://cdimage.ubuntu.com/ubuntu/releases/bionic/release/ubuntu-18.04.5-server-amd64.iso"
      ],
      "iso_checksum": "sha256:8c5fc24894394035402f66f3824beb7234b757dd2b5531379cb310cedfdf0996",
      "shutdown_command": "echo 'vagrant' | sudo -S shutdown -P now",
      "ssh_password": "vagrant",
      "ssh_username": "vagrant",
      "ssh_wait_timeout": "10000s",
      "type": "virtualbox-iso",
      "vm_name": "packer-ubuntu-64-20-04"
    }
  ],
  "post-processors": [
    {
      "type": "compress",
      "compression_level": 9,
      "output": "test.tar",
      "keep_input_artifact": true
    }
  ]
}
Both files are reference files, if you wish to modify something, you can make the changes accordingly. The steps to generate the image will remain the same.
Generating the VMDK
Run packer build to generate the VMDK and tar file.
PACKER_LOG=1 packer build config.json
Setting PACKER_LOG will allow you to see the logs of the Packer build step.
When you run packer build with the example config file, the VMDK will be inside the output directory, while tar will be at the root directory.
Converting the image
Currently, the raw image can not be built directly from the virtualbox-iso builder, so we will convert and then compress it. Please note, If you are using the qemu builder type instead of the virtualbox-iso builder, then you can skip the conversion step as Packer lets you directly create a raw image.
First, get the qemu-img CLI tool.
apt-get install -y qemu-utils
Then use the tool to convert the VMDK into a raw filesystem.
qemu-img convert -f vmdk -o raw output-virtualbox-iso/packer-ubuntu-64-20.04-disk001.vmdk test_packer.raw
Once you have a raw filesystem image, you can compress the raw image.
gzip test_packer.raw
The result is a test_packer.raw.gz file which can now be deployed via Tinkerbell. You can also use the raw file test_packer.raw directly, the benefit of having the compressed file is that it will be streamed over the network in less time.
How to deploy Tinkerbell using Ubuntu Packer image?
Tinkerbell is a fantastic Open-source bare metal provisioning engine. From a high-level overview, Tinkerbell architecture manages the provisioning of the worker node (bare metal servers) using set of microservices and these services jointly form a provisioner.
Tinkerbell provides various forms of deployment. For this use case, we would use the vagrant form of deployment. Once our provisioner is up and running, we will add hardware details and then create a workflow.
Hardware details
We would be using below the hardware details to create a hardware template.
{
  "id": "0eba0bf8-3772-4b4a-ab9f-6ebe93b90a94",
  "metadata": {
    "facility": {
      "facility_code": "ewr1",
      "plan_slug": "c2.medium.x86",
      "plan_version_slug": ""
    },
    "instance": {},
    "state": "provisioning"
  },
  "network": {
    "interfaces": [
      {
        "dhcp": {
          "arch": "x86_64",
          "ip": {
            "address": "192.168.1.5",
            "gateway": "192.168.1.1",
            "netmask": "255.255.255.248"
          },
          "mac": "08:00:27:00:00:01",
          "uefi": false
        },
        "netboot": {
          "allow_pxe": true,
          "allow_workflow": true
        }
      }
    ]
  }
}
For more details, take a look at Automated bare metal provisioning with Tinkerbell
Creating a workflow
A workflow is a Tinkerbell construct which defines the set of operation or actions that are to be executed as a part of the provisioning the server. With the recent addition of Actions utilities, it has become far easier to deploy OS and manage metal servers.
Below is a reference file for creating a Template using the above Ubuntu Packer image. We have used image2disk to stream OS over the network and to write it on a block device. And, kexec - to kexec into our newly provisioned operating system.
The template uses actions from the artifact.io hub.
version: "0.1"
name: Ubuntu_20_04
global_timeout: 1800
tasks:
  - name: "os-installation"
    worker: "{{.device_1}}"
    volumes:
      - /dev:/dev
      - /dev/console:/dev/console
      - /lib/firmware:/lib/firmware:ro
    actions:
      - name: "stream_ubuntu_packer_image"
        image: quay.io/tinkerbell-actions/image2disk:v1.0.0
        timeout: 600
        environment:
          DEST_DISK: /dev/sda
          IMG_URL: "http://192.168.1.1:8080/test_packer.raw.gz"
          COMPRESSED: true
      - name: "kexec_ubuntu"
        image: quay.io/tinkerbell-actions/kexec:v1.0.0
        timeout: 90
        pid: host
        environment:
          BLOCK_DEVICE: /dev/sda1
          FS_TYPE: ext4
Creating a workflow template in Tinkerbell:
$ docker exec -i deploy_tink-cli_1 tink template create  hello-world < ./hello-world.yml

Created Template:  56a37ea6-5b17-11eb-b427-0242ac120005

$ docker exec -i deploy_tink-cli_1 tink workflow create \
    -t efacb6da-7203-11eb-bc69-0242ac140005 \
    -r '{"device_1":"08:00:27:00:00:01"}'

Created Workflow:  08f04e34-3982-476c-9b07-91adcd76d79b
Starting the Worker node
When you start the worker node, the Provisioner starts a tink-worker container. This container prepares an environment for OS installation and executes all the actions defined in the workflow template.
With the Vagrant form of deployment, the Worker is brought up via vagrant up worker --provider <provider_name>
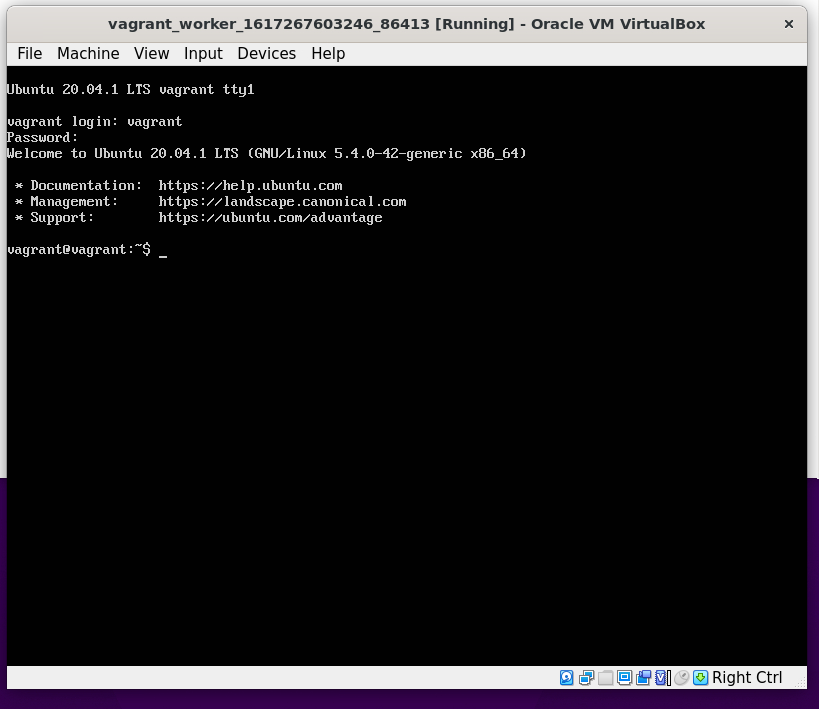
After your worker starts and the tink-worker completes the workflow execution, Ubuntu Packer images will be written on the systems block device. kexec in the near future will support automatic reboot. At the moment of writing this article, you can do a manual reboot, go into the boot menu and then select your partition on which the Ubuntu image was written.
And Voila! Your bare metal server will start with a Ubuntu Packer image.
Conclusion
In this blog post, we covered how we can create a minimalistic Ubuntu Packer image and then how we can deploy it on a bare metal server. With the recent advent of commodity hardware, the demand for provisioning the OS and ease of deployment has significantly increased. Here we have just explored a way to ease this process with some tweaks around Packer image creation process and image deployment via Tinkerbell. What do you think? Have you also tried deploying Packer machine images on Bare metals? We would love know your experiences, let’s start a conversation over Twitter and Linkedin.
Looking for help with building your DevOps strategy or want to outsource DevOps to the experts? learn why so many startups & enterprises consider us as one of the best DevOps consulting & services companies.
Stay updated with latest in AI and Cloud Native tech
We hate 😖 spam as much as you do! You're in a safe company.
Only delivering solid AI & cloud native content.
Posts You Might Like